Notice: Function _load_textdomain_just_in_time was called incorrectly. Translation loading for the instagram-widget-by-wpzoom domain was triggered too early. This is usually an indicator for some code in the plugin or theme running too early. Translations should be loaded at the init action or later. Please see Debugging in WordPress for more information. (This message was added in version 6.7.0.) in /wordpress/wp-includes/functions.php on line 6260
Notice: Function _load_textdomain_just_in_time was called incorrectly. Translation loading for the wp-recipe-maker domain was triggered too early. This is usually an indicator for some code in the plugin or theme running too early. Translations should be loaded at the init action or later. Please see Debugging in WordPress for more information. (This message was added in version 6.7.0.) in /wordpress/wp-includes/functions.php on line 6260
Notice: Function _load_textdomain_just_in_time was called incorrectly. Translation loading for the health-check domain was triggered too early. This is usually an indicator for some code in the plugin or theme running too early. Translations should be loaded at the init action or later. Please see Debugging in WordPress for more information. (This message was added in version 6.7.0.) in /wordpress/wp-includes/functions.php on line 6260
Breakfast - Brooklyn in the HausSkip to content
Create the ultimate summer snack spread with this beautiful Summer Berry Charcuterie Board. Filled with fresh berries, creamy cheeses, crunchy crackers, and sweet additions, this board is perfect for picnics, backyard gatherings, brunches, or simply treating yourself to something special. It’s easy to assemble, incredibly delicious, and almost too pretty to eat.
Introduction
There is just something about a charcuterie board that makes any occasion feel a little more special. During the summer months, I love incorporating fresh seasonal fruit, especially berries, because they add beautiful color, natural sweetness, and a refreshing touch to any spread.
This Summer Berry Charcuterie Board is one of my favorite things to make when I want something simple but impressive. Whether you’re hosting friends, planning a picnic, or enjoying a cozy night at home, this board comes together quickly and is always a crowd-pleaser.
Why You’ll Love This Recipe
Perfect for Summer
Fresh berries are at their peak during summer, making this board vibrant, juicy, and full of seasonal flavor. The colorful presentation instantly brightens any gathering.
Easy to Customize
You can easily swap ingredients based on your preferences or what you have on hand. There are so many ways to make this board your own.
No Cooking Required
This recipe requires zero cooking, making it ideal for hot summer days. Simply arrange everything on a board and serve.
Great for Entertaining
Charcuterie boards are perfect for sharing and encourage everyone to gather around and enjoy. They also look incredibly beautiful with minimal effort.
Ingredients You’ll Need
Before we get started, let’s gather the ingredients:
Fresh strawberries, halved
Fresh blueberries
Fresh raspberries
Fresh blackberries
Brie cheese
Goat cheese
Sharp cheddar cheese cubes
Assorted crackers
Pretzels
Honey
Dark chocolate pieces
Mixed nuts (almonds, pecans, or walnuts)
Fresh mint leaves for garnish
Instructions
Step 1: Prepare Your Ingredients
Wash and thoroughly dry all of the berries. Slice the strawberries in half and cut the cheeses into serving-sized pieces if needed.
Step 2: Place the Larger Items First
Arrange the Brie, goat cheese, and cheddar around your serving board. Placing the larger items first helps create a balanced layout.
Step 3: Add the Crackers and Pretzels
Fill in sections of the board with crackers and pretzels. This provides structure and makes the board easy to snack on.
Step 4: Arrange the Berries
Place small piles of strawberries, blueberries, raspberries, and blackberries around the board. Try to distribute the colors evenly for a beautiful presentation.
Step 5: Fill Empty Spaces
Add mixed nuts and dark chocolate pieces into any gaps on the board. These small additions provide extra flavor and texture.
Step 6: Finish with Garnishes
Drizzle honey over the Brie or place it in a small serving dish. Garnish the board with fresh mint leaves for a fresh summer touch.
Benefits of a Summer Berry Charcuterie Board
Packed with antioxidants and vitamins from fresh berries
Easy to customize for different dietary preferences
Requires minimal preparation time
Perfect for entertaining guests or casual snacking
Offers a variety of sweet and savory flavors
Tips for Building the Perfect Charcuterie Board
Choose berries that are fresh and in season for the best flavor.
Use a variety of textures by combining creamy cheeses, crunchy crackers, and juicy fruit.
Arrange ingredients in small groups to create a visually appealing board.
Prepare ingredients ahead of time and assemble just before serving.
Don’t be afraid to get creative with additional toppings and garnishes.
Frequently Asked Questions
Can I make this charcuterie board ahead of time?
Yes. You can prep all the ingredients a few hours in advance and store them separately in the refrigerator. Assemble the board shortly before serving for the freshest presentation.
What other fruits can I include?
You can add grapes, cherries, peaches, or sliced nectarines for even more summer flavor. Feel free to mix and match your favorite seasonal fruits.
Can I make this dairy-free?
Absolutely. Simply substitute the cheeses with your favorite dairy-free alternatives. There are many delicious plant-based cheese options available.
What crackers work best?
Any crackers you enjoy will work well. I love using a combination of plain crackers, seeded crackers, and buttery varieties for extra texture.
How long can the board sit out?
It’s best enjoyed within two hours, especially if serving outdoors during warm weather. Keep it chilled until you’re ready to serve.
Conclusion
This Summer Berry Charcuterie Board is proof that simple recipes can still feel incredibly special. The combination of fresh berries, creamy cheeses, crunchy crackers, and sweet additions creates a beautiful balance of flavors and textures that everyone will love.
Whether you’re hosting a summer gathering or simply treating yourself to an elevated snack moment, this board is easy to put together and guaranteed to impress. If you try this recipe, be sure to leave a comment below and let me know your favorite additions.
Start your day strong with these 3 high-protein breakfasts that are quick, filling, and actually so good. Because let’s be real, busy mornings don’t mean you should skip breakfast or settle for something boring.
Introduction
Mornings can get so hectic, especially when you’re trying to balance school, work, workouts, and everything in between. I’ve definitely had those days where I’m running out the door with nothing but coffee… and then regretting it an hour later.
That’s why I love having a few go-to high-protein breakfasts that are quick, easy, and keep me full. These recipes are perfect if you want something nourishing without spending forever in the kitchen.
Why You’ll Love These Recipes
Quick & Easy Each breakfast takes minimal time, so you can actually make it even on your busiest mornings.
High in Protein They’ll keep you full, energized, and focused throughout your day.
Perfect for On-the-Go You can prep ahead or take them with you if you’re in a rush.
Ingredients You’ll Need
Here’s everything you’ll need across all three recipes:
Eggs
Greek yogurt
Protein powder (optional)
Oats
Milk of choice
Chia seeds
Fresh fruits (berries, bananas)
Nut butter
Whole grain bread
Avocado
Breakfast 1: Protein-Packed Overnight Oats
Instructions
Step 1: Mix the Ingredients
In a jar or container, combine oats, milk, Greek yogurt, chia seeds, and protein powder.
Step 2: Stir Well
Mix everything until smooth and fully combined.
Step 3: Chill Overnight
Place in the fridge overnight (or at least 4 hours).
Step 4: Add Toppings
Top with fresh fruit and a drizzle of nut butter before serving.
Breakfast 2: Egg & Avocado Toast
Instructions
Step 1: Toast the Bread
Toast your whole grain bread until golden and crispy.
Step 2: Cook the Eggs
Cook eggs however you like—fried, scrambled, or poached.
Step 3: Mash the Avocado
Mash avocado with a pinch of salt and pepper.
Step 4: Assemble
Spread avocado on toast, top with eggs, and add any extra seasoning you love.
Breakfast 3: Greek Yogurt Protein Bowl
Instructions
Step 1: Add the Base
Scoop Greek yogurt into a bowl.
Step 2: Mix in Protein
Add protein powder if you want an extra boost and mix well.
Step 3: Add Toppings
Top with fruits, chia seeds, and nut butter.
Step 4: Serve
Enjoy immediately or take it to-go.
Benefits of High-Protein Breakfasts
Helps keep you full longer
Supports muscle recovery and energy levels
Reduces mid-morning cravings
Helps you stay focused and productive
Tips for Busy Mornings
Prep overnight oats the night before to save time
Keep ingredients stocked and ready to go
Use simple recipes you can make on autopilot
Don’t skip breakfast—even something small helps
Frequently Asked Questions
Can I make these ahead of time? Yes! Overnight oats are perfect for meal prep, and you can prep ingredients for the others in advance.
Do I need protein powder? Not at all. It’s optional, but it can help increase your protein intake.
What can I substitute for Greek yogurt? You can use dairy-free yogurt alternatives if needed.
Are these good for weight loss? They can support weight goals since they help keep you full and reduce overeating later.
Conclusion
These 3 high-protein breakfasts are perfect for busy mornings when you still want to feel your best. They’re simple, nourishing, and honestly make mornings feel a little more put together.
Try them out and see which one becomes your favorite! Don’t forget to leave a comment and share your go-to breakfast ideas too.
Disclaimer: As an Amazon affiliate, I earn from qualifying purchases made through links provided in this post. This comes at no additional cost to you, but it helps support my blog and allows me to continue creating content. Thank you for your support!
Why You’ll Love This Vegan Chicken and Waffles Recipe
Chicken and waffles are one of the best breakfast pairings ever! This Southern-style classic combines crispy “chicken” with fluffy waffles, delivering a delightful symphony of flavors. Nonetheless, whether you’re a seasoned plant-based pro or just exploring the wonders of vegan eats, this recipe is a winner for several reasons:
Delightfully flavorful – Every bite is a burst of savory and sweet goodness that’ll have you coming back for more.
Quick and easy to make – No need for a culinary marathon. With simple steps, you’ll have this delightful dish on your plate in no time.
Time-efficient – Perfect for busy mornings—get a tasty breakfast without the wait.
Satisfyingly filling – Keeps you full and fueled, ready to conquer the day.
Ideal for brunch – Elevate your brunch game with this crowd-pleaser that’s sure to impress.
Ingredients
The two main ingredients you’re going to need are waffle mix and oyster mushrooms. The waffle mix is for making the waffle batter (obviously, haha). I like to use Birch Benders Organic Classic Pancake and Waffle Mix, it’s one of my absolute favorites. Then, you’ll need oyster mushrooms to make the “fried chicken”. Any and all seasonings and toppings listed in this recipe can be customized to your liking. It’s totally up to you! Here’s the essentials:
Waffle Mix – Birch Benders Organic Classic is my go-to. However, you can use any brand you like, or you make the waffles from scratch.
King Oyster Mushrooms – These are best because their shape resembles chicken drumsticks.
Plant-Based Milk – I used unsweetened almond milk, but feel free to use any kind you like (oat milk, cashew milk, etc). This is used to create our ‘buttermilk”.
Lemon – You only need half of it.
Oil – For frying the mushrooms and the waffle batter.
Flour – To make batter for the mushrooms
These seasonings will make your fried “chicken” aka oyster mushrooms super flavorful:
Fortunately, the equipment you need for this recipe is a staple in most kitchens, so you probably have these items already. And if you don’t have them, they are very inexpensive to buy. You only need these five things:
Waffle Iron
Whisk – A stainless steel balloon whisk is best, especially in a large size.
Two Big Mixing Bowls
Measuring Cups & Spoons
A Large Pan
How to Make Vegan Fried Chicken
Rinse off your king oyster mushrooms with water.
Split each mushroom in half, then set them aside.
Pour the plant-based milk into a bowl.
Squeeze half a lemon into the bowl with the plant-based milk, then set aside.
Pour flour into a bowl. Then, add seasonings and stir to combine.
Dip mushrooms in the buttermilk (should be curdled), then dip them in the dry batter.
Continue repeating the last step until the mushrooms are as battered as you want them to be.
Heat oil in a large pan. Once it is hot, place the battered mushrooms in the oil.
Fry until golden brown.
How to Make Vegan Waffles
Preheat your waffle iron
Pour the waffle mix and cinnamon into a large mixing bowl, then whisk them together.
Add vanilla extract, then whisk until well combined.
Pour waffle batter into the heated waffle iron and cook.
Video of Recipe
Frequently Asked Questions
Can I prepare the Vegan Chicken and Waffles ahead of time?
Absolutely! While the waffles are best enjoyed fresh, you can prepare the vegan “chicken” in advance and store it in the fridge. Reheat it when you’re ready to assemble your delicious breakfast.
Can I freeze the Vegan Chicken for future use?
Certainly! The vegan “chicken” freezes well. Store it in airtight containers, and you’ll have a convenient option for a quick and satisfying breakfast on busy days.
What toppings pair well with Vegan Chicken and Waffles?
Get creative! Maple syrup and butter are classic choices, but you can also try savory toppings like vegan gravy, hot sauce, or a drizzle of tahini for an extra flavor kick.
Are there any gluten-free options for this recipe?
Absolutely. You can use a gluten-free flour mix for the waffles, and there are various gluten-free flour options for the coating on the vegan “chicken.” Just make sure to check labels for gluten-free and vegan suitability.
Can I use a store-bought vegan “chicken” alternative?
Definitely! If you’re short on time, you can opt for store-bought vegan “chicken” alternatives. Just follow the cooking instructions on the package, and you’ll still end up with a delicious dish.
How can I make this recipe more kid-friendly?
Consider cutting the waffles and vegan “chicken” into bite-sized pieces for a fun and easy-to-eat meal. You can also provide a variety of dipping sauces for added excitement.
Happy eating!
Chicken and Waffles
Crispy vegan "chicken" meets fluffy waffles in this delightful breakfast combo. Quick, flavorful, and totally satisfying!
Are you new to vegan or plant-based baking and not sure where to begin? Embarking on the journey of vegan baking can be both exciting and challenging, especially if you can’t have dairy like me. But worry not! This article is here to guide you through the wonderful world of vegan baking. Whether you’re an experienced vegan or curious about plant-based options in baking, get ready to discover tips, tricks, and mouthwatering recipes that satisfy your cravings and impress your taste buds. So, let’s dive in and explore the joys of creating delectable vegan treats!
Why Choose Vegan Baking?
If you’re wondering why you should give vegan baking a try, let me fill you in on the benefits. Vegan baking not only allows you to create delicious treats but also promotes a healthier lifestyle and reduces your impact on the environment. By omitting animal products such as eggs, dairy, and honey, you’ll be baking goodies that are lower in cholesterol, saturated fats, and calories. Additionally, vegan baking aligns with ethical values by supporting animal welfare and reducing carbon footprint. It’s a win-win for your health and the planet!
Essential Ingredients for Vegan Baking
When it comes to vegan baking, the first step is gathering the essential ingredients that form the foundation of your recipes. These ingredients are absolute staples for any vegan or plant-based baking.
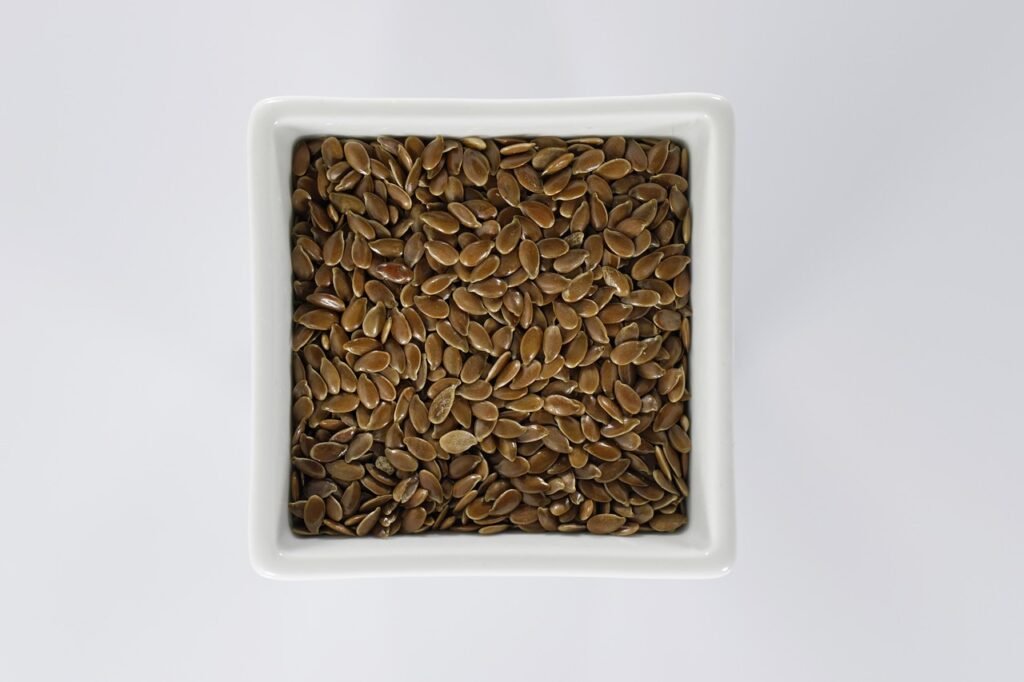
1. Flaxseeds: Nature’s Egg Replacer
When it comes to replacing eggs in vegan baking, flaxseeds are your new best friend. By mixing one tablespoon of ground flaxseeds with three tablespoons of water, you create a gel-like mixture that mimics the binding properties of eggs. This magical flaxseed gel can be used in recipes like muffins, cookies, and cakes to give your baked goods the structure they need.
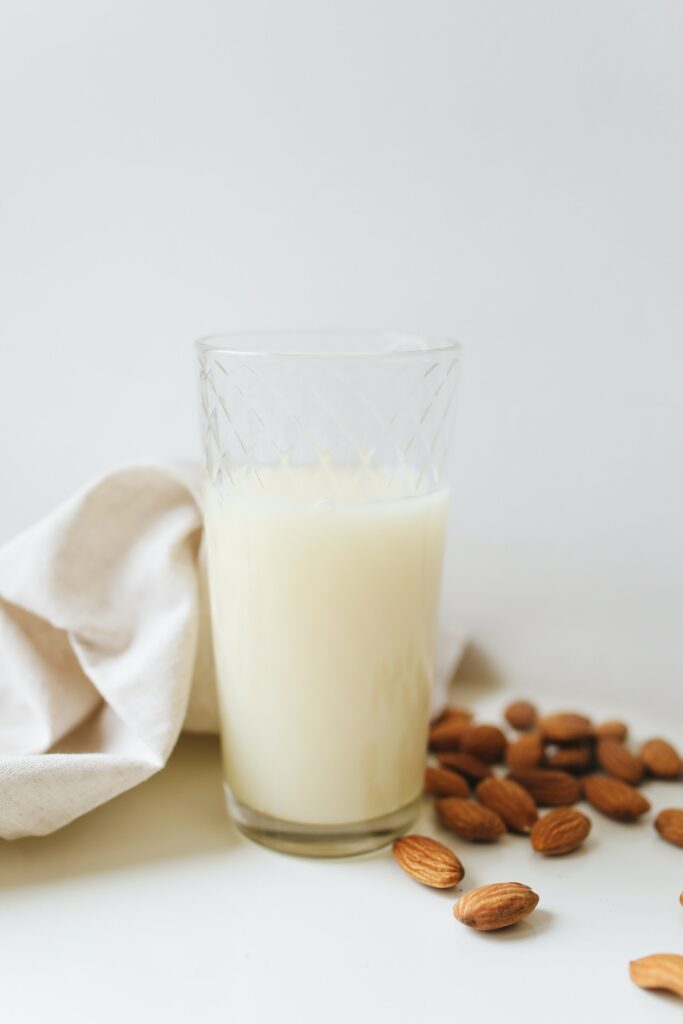
2. Nut Milk: Creaminess without Dairy
Say goodbye to dairy milk and hello to nut milk! Almond, cashew, and oat milk are excellent alternatives to cow’s milk in vegan baking. They provide the creaminess and moisture required for your recipes. Just make sure to choose unsweetened varieties to have control over the sweetness of your creations.
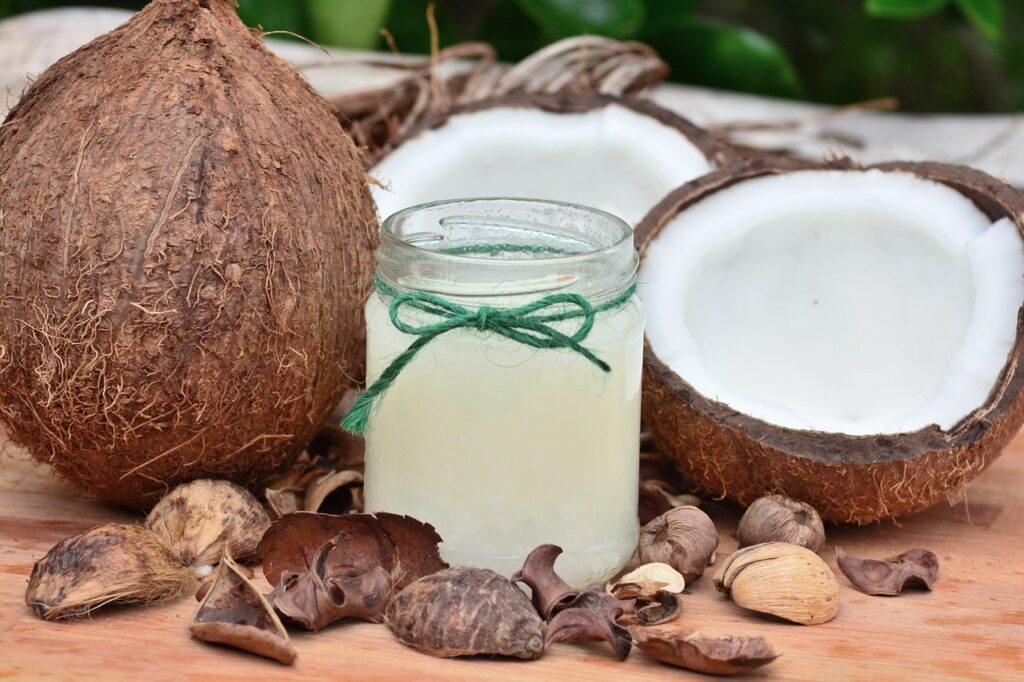
3. Coconut Oil: A Versatile Vegan Fat
Coconut oil is a superstar in the vegan baking world. Its solid texture at room temperature makes it an ideal substitute for butter. Whether you’re making cookies or pie crusts, coconut oil adds a delicious flavor and richness to your treats. If you prefer a neutral taste, go for refined coconut oil.
4. Agave Nectar: A Natural Sweetener
To sweeten your vegan creations, agave nectar is a fantastic option. Derived from the agave plant, this natural sweetener provides the perfect level of sweetness without the need for honey. It blends well with other ingredients and dissolves easily, making it an excellent choice for your vegan desserts.
5. Whole Wheat Flour: Nutritious and Wholesome
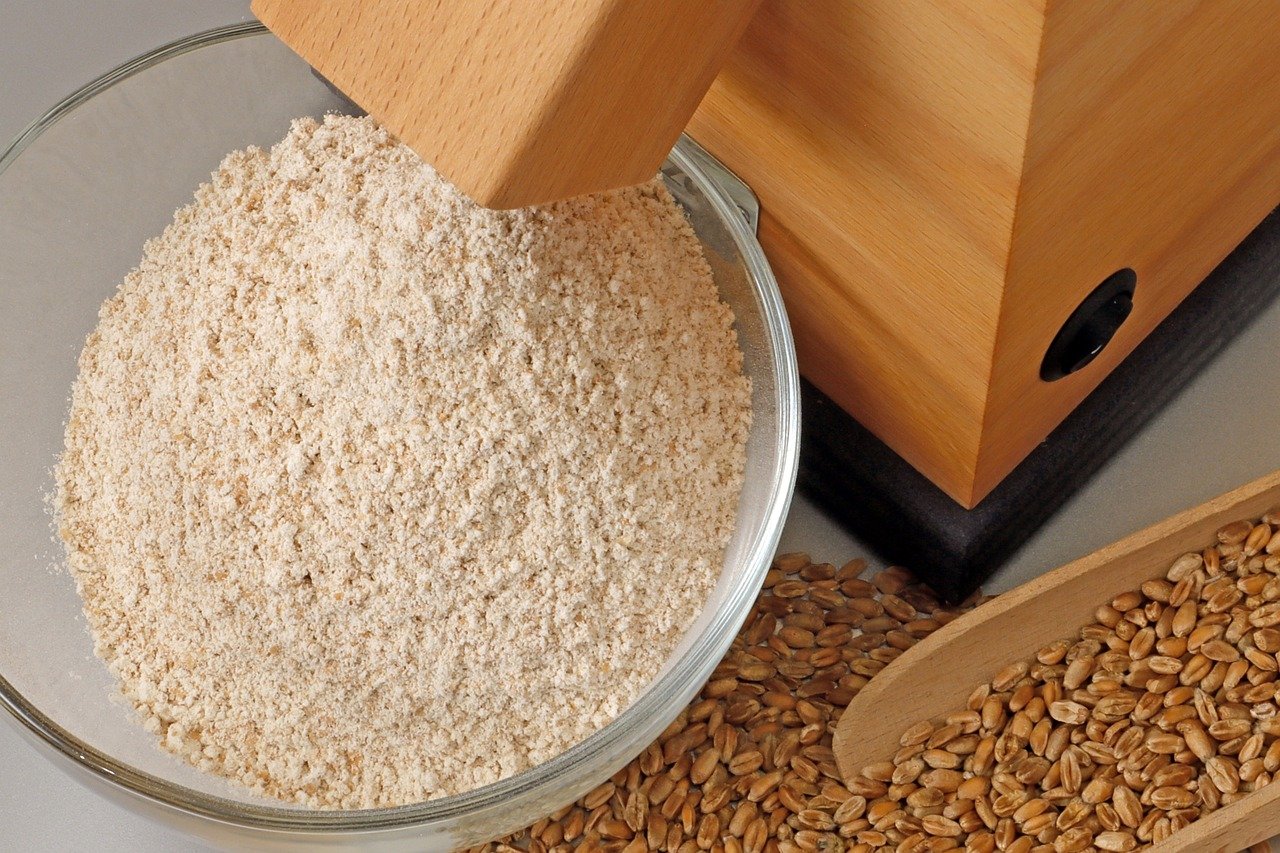
When it comes to flour, opt for whole wheat flour in your vegan baking adventures. Unlike refined white flour, whole wheat flour retains its natural fiber and nutrients, adding a nutritional boost to your treats. It lends a slightly nutty flavor and a denser texture, making it perfect for bread and muffins.
Tips for Successful Vegan Baking
Now that you’re equipped with the essential ingredients, let’s dive into some tips and tricks to ensure your vegan baking endeavors are a sweet success:
1. Accurate Measurements Are Key
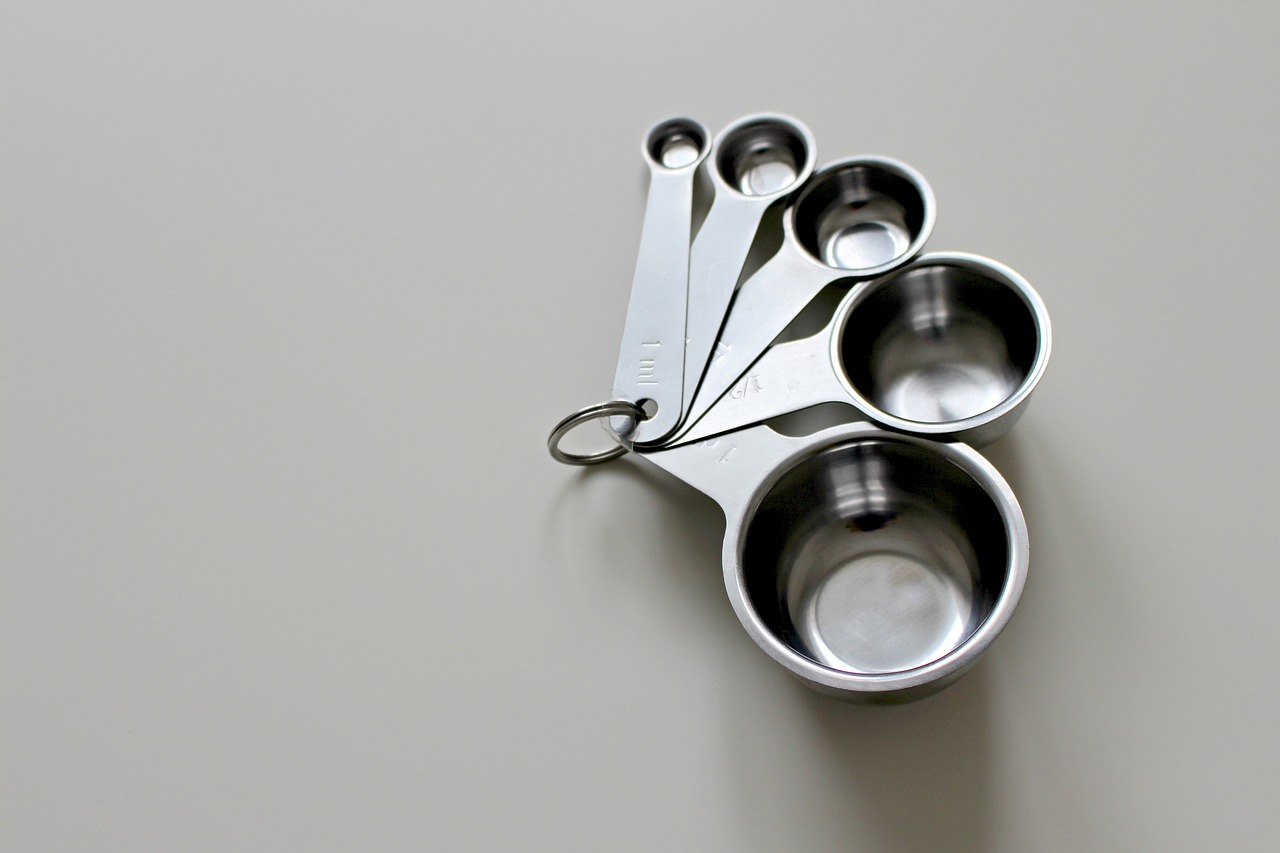
Precision is crucial in baking, and vegan baking is no exception. Invest in a good set of measuring cups and spoons to ensure accurate measurements. Spoon flour into the measuring cup and level it off for precise amounts. This attention to detail will help you achieve consistent and delicious results.
2. Don’t Overmix the Batter
When mixing your vegan batter, remember not to overdo it. Overmixing can result in dense and tough baked goods. Mix the ingredients until they are just combined, and don’t worry if you see a few lumps here and there. Embrace a gentle approach, and you’ll be rewarded with light and fluffy treats.
3. Get Creative with Flavors
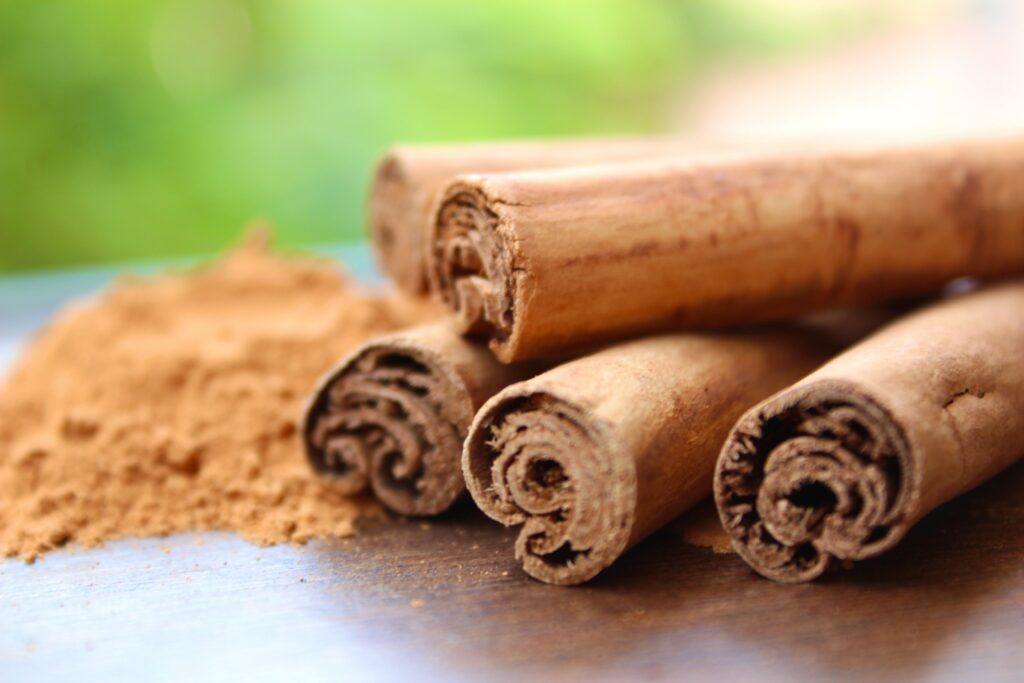
Vegan baking offers endless opportunities to play with flavors. Don’t hesitate to experiment with spices like cinnamon, nutmeg, and cardamom to add warmth and depth to your desserts. Enhance the taste by incorporating citrus zest or using extracts like vanilla, almond, or coconut. Let your taste buds be your guide, and don’t be afraid to get creative!
4. Add Texture with Nuts and Seeds
Nuts and seeds are fantastic additions to vegan baking, providing texture, crunch, and a dose of healthy fats. Chopped walnuts, slivered almonds, or pumpkin seeds can take your treats to the next level. Sprinkle them on top of muffins, bread, or cakes before baking for that irresistible finishing touch.
5. Allow Proper Cooling Time
Patience is a virtue in baking, and proper cooling time is essential. Once you remove your vegan goodies from the oven, allow them to cool completely before diving in. This cooling period allows the flavors to develop and the texture to set. Exercise some self-control, and your patience will be rewarded with perfectly baked treats.
Delicious Vegan Baking Recipes
It’s time to put your newfound knowledge and skills into action with some delightful vegan recipes. Here are a few mouthwatering options to get you started:
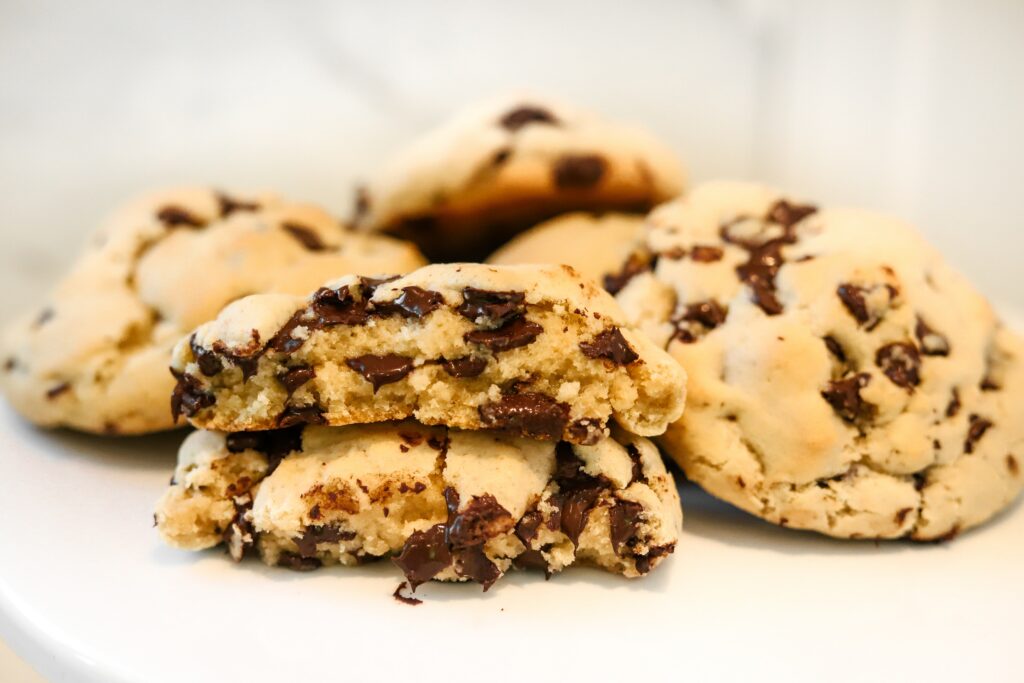
Recipe 1: Vegan Chocolate Chip Cookies
Ingredients:
1 ½ cups all-purpose flour
½ teaspoon baking soda
½ teaspoon salt
½ cup coconut oil
½ cup brown sugar
¼ cup granulated sugar
¼ cup almond milk
1 teaspoon vanilla extract
1 cup vegan chocolate chips
Instructions:
Preheat the oven to 350°F (175°C) and line a baking sheet with parchment paper.
In a bowl, whisk together the flour, baking soda, and salt.
In a separate bowl, cream together the coconut oil, brown sugar, and granulated sugar until smooth.
Add the almond milk and vanilla extract to the wet mixture and mix well.
Gradually incorporate the dry ingredients into the wet mixture until a dough forms.
Fold in the vegan chocolate chips.
Scoop tablespoon-sized portions of dough onto the prepared baking sheet, spacing them about 2 inches apart.
Bake for 10-12 minutes or until the edges are golden brown.
Remove from the oven and let the cookies cool on the baking sheet for 5 minutes before transferring them to a wire rack to cool completely.
Enjoy these irresistible vegan chocolate chip cookies!
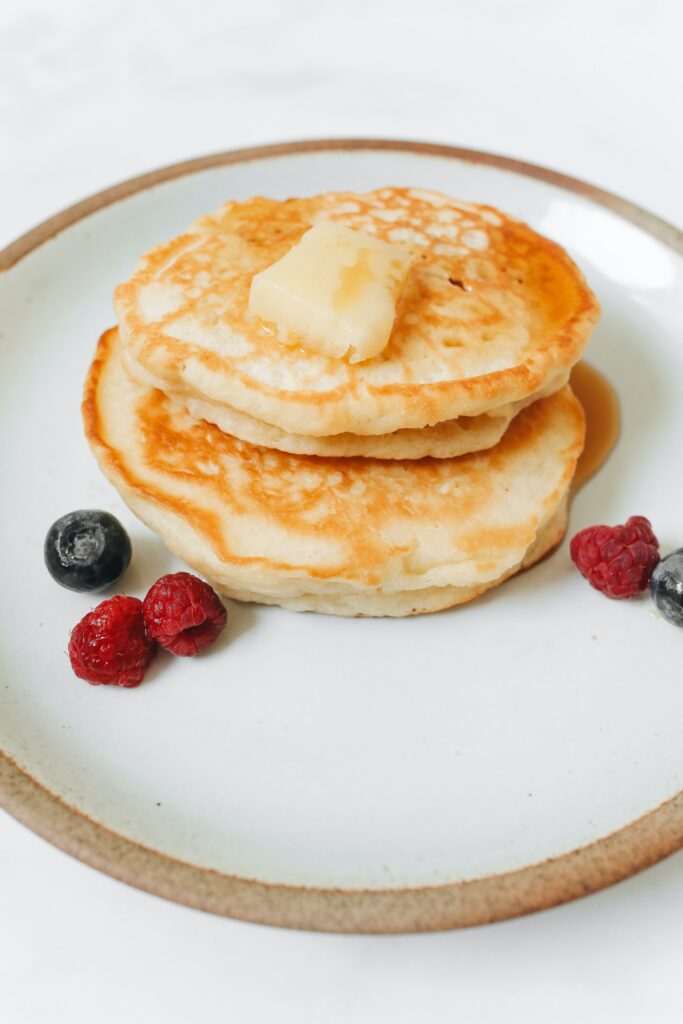
Recipe 2: Fluffy Vegan Pancakes
Ingredients:
1 ¼ cups all-purpose flour
2 tablespoons sugar
2 teaspoons baking powder
½ teaspoon salt
1 cup almond milk
1 tablespoon apple cider vinegar
1 tablespoon coconut oil, melted
1 teaspoon vanilla extract
Instructions:
In a large bowl, whisk together the flour, sugar, baking powder, and salt.
In a separate bowl, combine the almond milk and apple cider vinegar. Let it sit for a few minutes to curdle.
Add the melted coconut oil and vanilla extract to the almond milk mixture and stir well.
Pour the wet ingredients into the dry ingredients and mix until just combined. Be careful not to overmix; a few lumps are perfectly fine.
Heat a non-stick skillet or griddle over medium heat.
Pour ¼ cup of batter onto the heated surface for each pancake.
Cook until bubbles form on the surface, then flip and cook for another minute or until golden brown.
Serve these fluffy vegan pancakes with your favorite toppings, such as maple syrup, fresh berries, or dairy-free yogurt.
Recipe 3: Vegan Cinnamon Rolls
Ingredients: For the dough:
2 ¾ cups all-purpose flour
2 tablespoons sugar
2 ¼ teaspoons instant yeast
½ teaspoon salt
½ cup almond milk
¼ cup water
2 tablespoons coconut oil, melted
For the filling:
½ cup brown sugar
2 tablespoons ground cinnamon
2 tablespoons coconut oil, softened
For the icing:
1 cup powdered sugar
2 tablespoons almond milk
½ teaspoon vanilla extract
Instructions:
In a large bowl, whisk together the flour, sugar, instant yeast, and salt.
In a small saucepan, heat the almond milk, water, and melted coconut oil until warm but not boiling.
Pour the liquid mixture into the dry ingredients and stir until a soft dough forms.
Transfer the dough to a floured surface and knead for about 5 minutes or until smooth and elastic.
Place the dough in a greased bowl, cover with a clean kitchen towel, and let it rise in a warm place for about 1 hour or until doubled in size.
Punch down the dough and roll it out into a large rectangle.
Spread the softened coconut oil evenly over the dough.
In a small bowl, mix together the brown sugar and ground cinnamon. Sprinkle the mixture over the coconut oil.
Starting from one long side, tightly roll up the dough into a log.
Cut the log into 12 equal-sized rolls.
Place the rolls in a greased baking dish, cover, and let them rise for another 30 minutes.
Preheat the oven to 375°F (190°C).
Bake the cinnamon rolls for 20-25 minutes or until golden brown.
In a bowl, whisk together the powdered sugar, almond milk, and vanilla extract to make the icing.
Drizzle the icing over the warm cinnamon rolls.
Indulge in these heavenly vegan cinnamon rolls and savor the flavors!
FAQs (Frequently Asked Questions)
Now, let’s address some common questions you may have about vegan baking:
1. Is vegan baking difficult?
Not at all! While there may be some adjustments and substitutions to consider, vegan baking can be just as easy and enjoyable as traditional baking. With practice and the right recipes, you’ll become a pro in no time!
2. Can I use regular recipes and simply substitute vegan ingredients?
In some cases, you can make ingredient swaps to veganize non-vegan recipes. However, it’s important to understand that vegan baking often requires specific ingredient combinations to achieve the desired texture and flavor. It’s best to follow vegan recipes or adapt non-vegan ones that are specifically designed for vegan baking.
3. How can I make my vegan baked goods moist?
Moisture is key in vegan baking. To keep your baked goods moist, you can incorporate ingredients like nut milk, applesauce, mashed bananas, or vegetable purees. These additions provide moisture and contribute to the overall texture of your treats.
4. Are vegan baked goods healthier than traditional ones?
Vegan baked goods can be healthier than traditional ones in many ways. They are often lower in cholesterol, saturated fats, and calories. Additionally, vegan baking promotes the use of wholesome ingredients like whole grains and natural sweeteners. However, it’s still important to enjoy vegan treats in moderation as part of a balanced diet.
5. Can I freeze vegan baked goods?
Absolutely! Just like traditional baked goods, you can freeze vegan treats for later enjoyment. Ensure they are fully cooled, then wrap them tightly in plastic wrap or place them in airtight containers before freezing. They can be stored in the freezer for up to three months. Thaw them at room temperature or reheat in the oven when you’re ready to indulge.
6. Where can I find more vegan baking recipes?
There’s a wealth of vegan baking recipes available online, in vegan cookbooks, and on food blogs dedicated to plant-based recipes. Explore these resources, join vegan baking communities, and let your culinary creativity soar!
Conclusion
Congratulations! You’re now equipped with valuable tips, tricks, and delicious vegan recipes to embark on your vegan baking journey. Embrace the world of vegan baking with confidence and creativity. From chocolate chip cookies to fluffy pancakes and heavenly cinnamon rolls, the possibilities are endless. So, get into the kitchen, gather your ingredients, and let the joy of vegan baking fill your home with delightful aromas and mouthwatering treats!
Some yummy loaded sweet potato fries! No dairy necessary!
Plant-based eating has become increasingly popular in recent years for a variety of reasons, including health benefits, environmental concerns, and animal welfare. However, making the switch to a plant-based diet can be overwhelming for beginners. From understanding what to eat to learning how to make delicious meals, it can be a lot to take in. As a result, I’ve put together this ultimate beginner’s guide to plant-based eating. First, I’ll explain what a plant-based diet is, then I’ll go over tips for making the transition and share some delicious and easy recipes to get you started.
What is a Plant-Based Diet?
A plant-based diet is a diet that primarily consists of foods derived from plants, including fruits, vegetables, grains, legumes, nuts, and seeds. This means that a plant-based diet is mostly made up of whole foods and minimizes the consumption of animal products. This can include vegetarian and vegan diets, as well as diets that include some animal products in moderation.
Look how vibrant these veggies are!
How do I get started?
The first step in transitioning to a plant-based diet is to learn about the foods you can eat to ensure you’re getting all the nutrition you need. Some of the key foods to include on a plant-based diet include:
Fruits and vegetables: Aim for a variety of colors and types to ensure that you’re getting a wide range of nutrients.
Grains: Whole grains such as quinoa, brown rice, and oats are a great source of fiber and other important nutrients.
Legumes: Beans, lentils, and chickpeas are all great options for adding protein and fiber to your diet.
Nuts and seeds: These are great for adding healthy fats and protein to your meals.
It’s also important to understand what foods to limit or avoid on a plant-based diet. These can include:
Animal products: This includes meat, dairy, and eggs.
Processed foods: Many processed foods contain animal products and added sugars, so it’s best to stick to whole foods as much as possible.
Added sugars and oils: These can add a lot of unnecessary calories to your diet and should be used in moderation.
KFC is definitely not plant-based friendly!
Creating Delicious Plant-based Meals: Tips and Tricks
Now that you have a better understanding of what to eat, it’s time to start planning your meals. Remember: transitioning to a plant-based diet doesn’t mean sacrificing taste, you can still make delicious and satisfying meals just as you did before! Here are a few tips to help you out:
Start by incorporating more plant-based foods into your existing meals. This can be as simple as adding a side of steamed vegetables to your dinner or swapping out cow’s milk for almond milk in your morning coffee.
Experiment with different plant-based protein sources. Legumes, nuts, and seeds are all great options for adding protein to your meals.
Get creative with spices and herbs. These can add a lot of flavor to your meals without the need for animal products.
Try new recipes and cuisines. Plant-based diets are popular all over the world, so there are plenty of delicious and diverse recipes to try.
Here are a few easy and tasty plant-based recipes to get started:
Banana Berry Smoothie Bowl
Prep Time: 5 minutes
Total Time: 5 minutes
Start your day off right with this delicious plant-based Banana Berry Smoothie Bowl, packed with ripe bananas, mixed berries and nutritious toppings.
No Ratings
Ingredients
1 banana
1 cup frozen berries
1 cup coconut milk or almond milk
1 tbsp chia seeds
1 tsp honey or maple syrup (optional)
Instructions
In a blender, combine the banana, frozen berries, coconut milk or almond milk, chia seeds, and honey or maple syrup (if using).
Blend until smooth and creamy.
Pour the smoothie mixture into a bowl and top with your favorite toppings such as fresh fruits, nuts, and granola.
Notes
This recipe is totally vegan as long as you don't use honey for the topping. You can always use agave syrup instead! Personally, I am plant-based, not vegan, so I eat this with honey.
Please leave a comment on the blog or share a photo on Instagram!
Chickpea and Sweet Potato Tacos
Cook Time: 45 minutes
Total Time: 45 minutes
Looking for a delicious and wholesome meal option? Look no further than our chickpea and sweet potato tacos! These tasty treats feature a hearty filling of chickpeas and sweet potatoes, perfectly spiced and wrapped in a warm tortilla. Perfect for a quick and easy dinner, or as a flavorful lunch option. Give them a try and see for yourself why they're a crowd-pleaser!
5.0 Stars (1 Review)
Ingredients
1 can chickpeas, drained and rinsed
1 sweet potato, peeled and diced
1 tbsp olive oil
1 tsp cumin
1 tsp chili powder
Salt and pepper, to taste
8 corn tortillas
Toppings of your choice (salsa, avocado, cilantro, jalapeño)
Instructions
Preheat the oven to 400 degrees
In a large bowl, mix together the chickpeas, sweet potato, olive oil, cumin, chili powder, salt, and pepper.
Spread the mixture out on a baking sheet and roast in the preheated oven for 25-30 minutes, or until the sweet potato is tender.
While the sweet potato is roasting, heat the tortillas in a dry skillet over medium heat until they are warm and slightly charred.
Once the sweet potato is done roasting, assemble the tacos by spooning the mixture onto the warm tortillas and adding your desired toppings.
Did you make this recipe?
Please leave a comment on the blog or share a photo on Instagram!
Easy Vegan Pasta with Roasted Tomatoes and Basil
Prep Time: 10 minutes
Cook Time: 50 minutes
Total Time: 1 hour
No Ratings
Ingredients
1 lb of pasta
2 cups cherry tomatoes
2 cloves of garlic
2 tbsp olive oil
Salt and pepper, to taste
1/4 cup chopped fresh basil
Instructions
Preheat the oven to 400 degrees F.
In a large bowl, mix together the cherry tomatoes, garlic, olive oil, salt, and pepper.
Spread the mixture out on a baking sheet and roast in the preheated oven for 20-25 minutes, or until the tomatoes are slightly charred.
While the tomatoes are roasting, bring a large pot of salted water to a boil and cook the pasta according to the package instructions.
Once the pasta is done cooking, drain it and return it to the pot.
Once the tomatoes are done roasting, add them to the pot of pasta, along with the chopped basil.
Toss everything together until well combined and serve warm.
These recipes are intended for informational purposes only and are not intended as a substitute for professional nutrition advice.
Did you make this recipe?
Please leave a comment on the blog or share a photo on Instagram!
Rainbow Salad with Balsamic Vinaigrette
Yield: SERVES 4
Prep Time: 10 minutes
Total Time: 10 minutes
A colorful and healthy Rainbow Salad with Balsamic Vinaigrette, packed with a variety of veggies, a perfect balance of flavors, and a simple dressing that will elevate the taste of your salad.
No Ratings
Ingredients
Rainbow Salad
4 cups mixed greens
1 cup cherry tomatoes, halved (red and yellow)
1 cup sliced cucumber
1 cup shredded red cabbage
1 cup shredded carrots
1 diced avocado (optional)
Balsamic Vinaigrette
1/4 cup balsamic vinegar
2 tbsp olive oil
1 tbsp Dijon mustard
1 clove of garlic, minced
1 tsp honey (or agave nectar)
Salt and pepper, to taste
Instructions
In a large bowl, combine all of the ingredients for the salad.
In a small bowl, whisk together the ingredients for the balsamic vinaigrette.
Pour the dressing over the salad and toss to mix.
Serve chilled.
Notes
You can always add as many or as few ingredients as you'd like. For more protein, you can add almonds, cashews, or chickpeas.
Please leave a comment on the blog or share a photo on Instagram!
You’ve got this! I hope this guide has been a helpful resource for you as you begin your journey toward a plant-based diet. Remember, it’s all about taking small steps, so don’t be too hard on yourself. Incorporate more plant-based foods into your meals, experiment with different ingredients and flavors, and most importantly, have fun!